Illuminate Processing Management
Note
In 4.2, we’ve changed how Illuminate processing packs are installed and managed. Starting with this version, you can automate much of the previously manual installation process.
Note
In order to get your Illuminate ZIP file, please reach out to your CSM (Customer Success Manager) for details.
Overview
When Illuminate processing packs are installed or activated, Graylog will automatically handle the creation of required streams and index sets and the installation of new Elastic templates.
In addition, your selected processing packs automatically apply to matching messages. Finally, you will no longer see Illuminate processing pipelines and rules on the Pipeline Management page.
Prerequisites
Note
You only need to install the Illuminate ZIP file once. So, if you’re running a multi-node Graylog environment, the installer synchronizes the file uploads across each node.
To get started with this installation and processing tool you'll to do the following:
- upgrade to Graylog 4.2 with Illuminate if running an earlier version
- remove old processing pipelines and rule found in the Processing Pipelines chapter
- remove all necessary content packs, as mentioned in Uninstalling a content pack
Installation
Note
The installer will only accept selected bundle versions. Otherwise, it will restrict and notify you that the file type, and its contents, are invalid.
To begin the installation of new Illuminate processing packs, follow these steps:
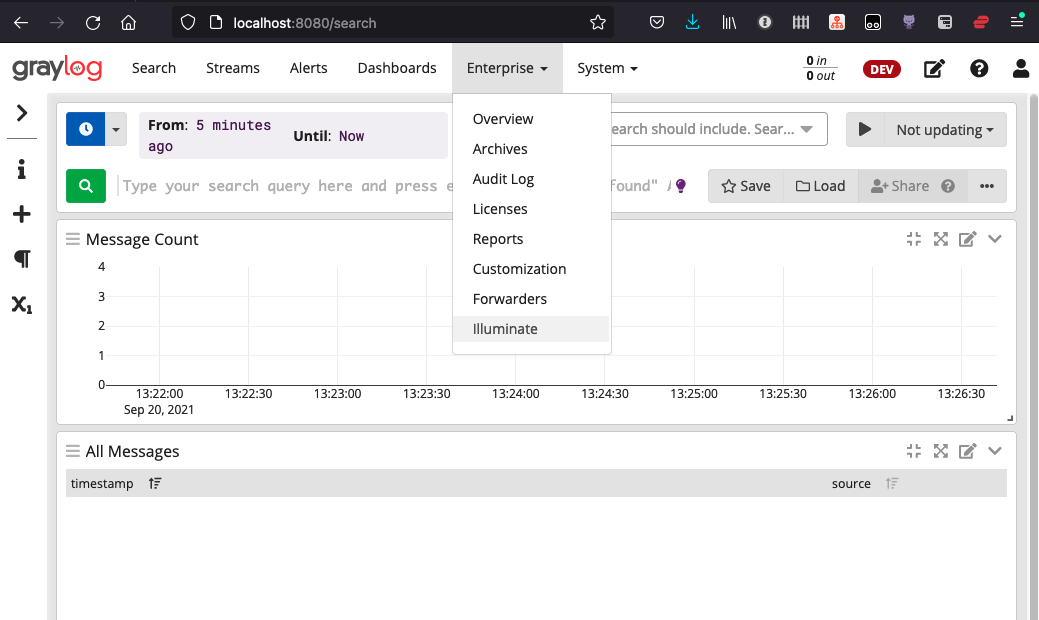
- Locate and click the Illuminate submenu under Enterprise in the main Graylog navigation bar.
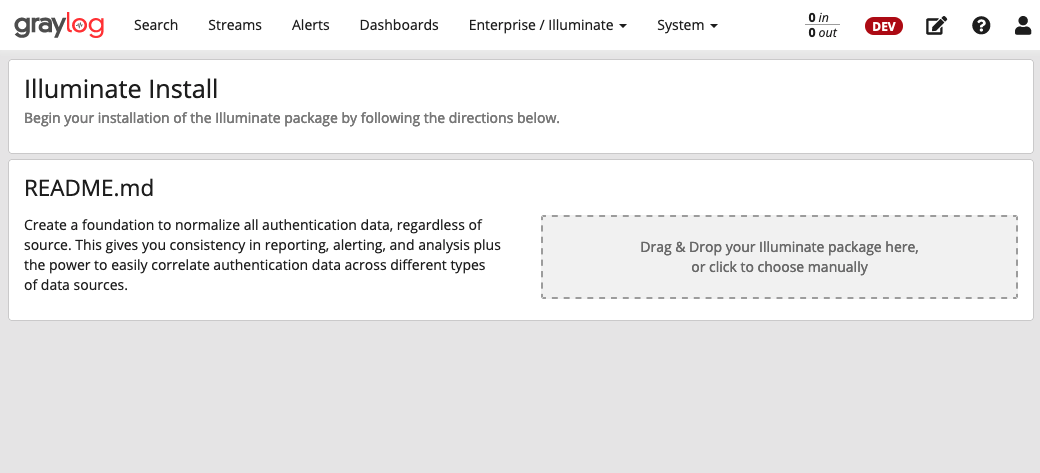
- On the Illuminate Install page, you can either:
- drag-and-drop your Illuminate ZIP file directly onto the page, or
- click the rectangular help text box, which prompts a file picker to help you locate the ZIP file on your file system.
Select and Enable Packs
Select Packs
Once Graylog has processed the uploaded file, you can select your desired packs. You can either:
- click the empty checkbox labeled 0 Selected in the top shaded cell. This automatically chooses all Illuminate packs. Or,
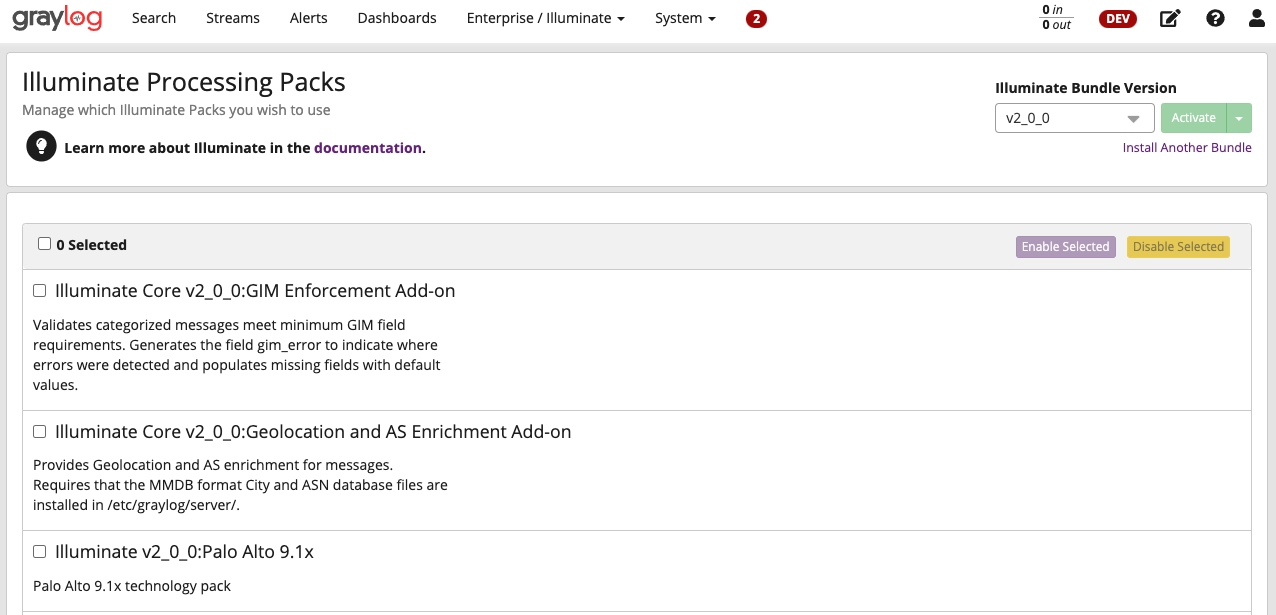
- click the checkboxes corresponding to an individual pack.
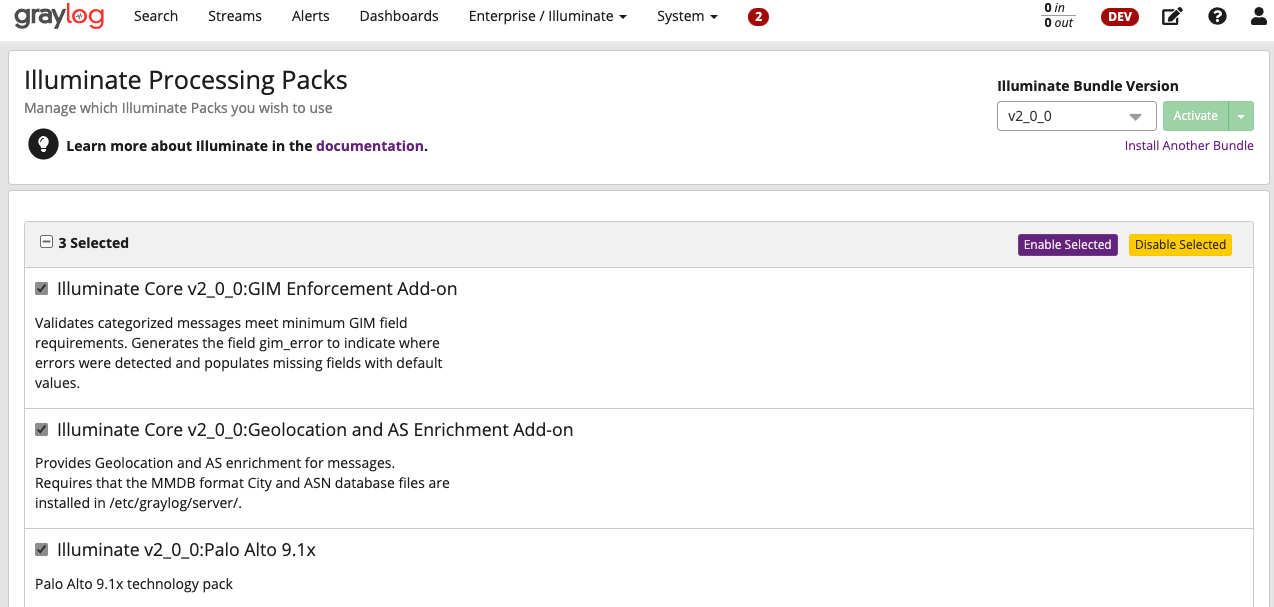
In this example, the panel displays all three packs selected:
Enable Packs
Next, you need to activate your processing packs. Be sure at least one pack is selected. From there enable your selected pack(s) by these steps:
- Click the Enable Selected button.
- Click the Confirm button on the Enabling Illuminate Pack modal.

As a result the cell representing the enabled pack turns to a light green color. For example, consider this screen that displays three enabled packs:

Disable Packs
Conversely, you can disable processing packs. To do this:
- Click a checkbox for the respective pack. (You can also check the box of the top gray-shaded cell to chose all.)
- Press theDisable Selected button.

- Click Confirm to verify the individual or list of packs presented in the Disabling Illuminate Pack modal.
Delete Packs
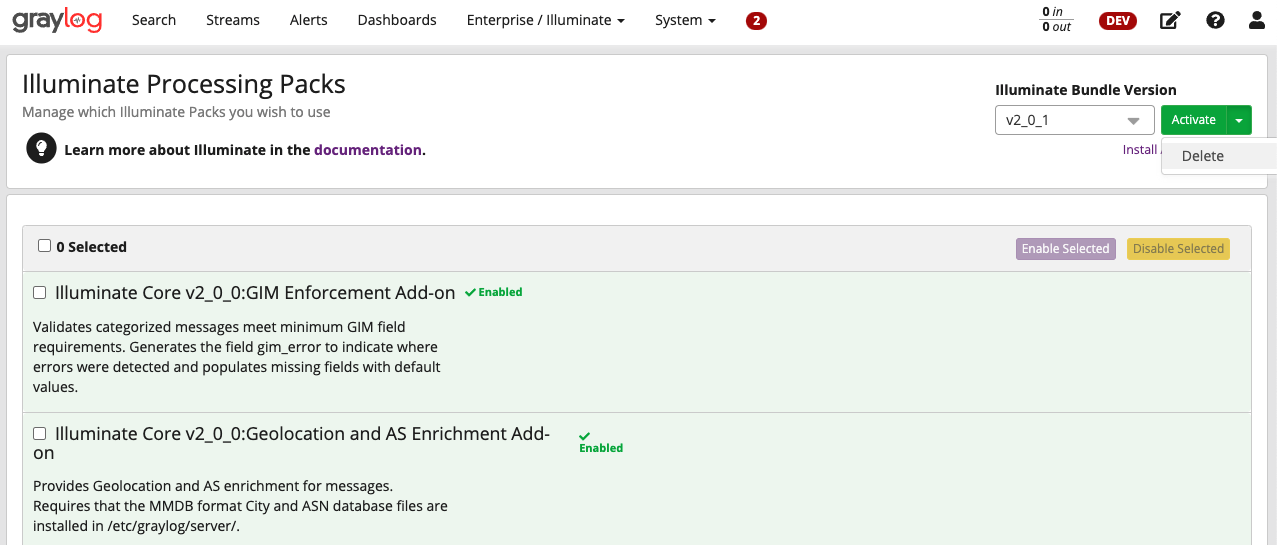
Also, non-active Illuminate bundles can be optionally deleted. To do this:
- Select the individual, or list of undesired packs.
- Click the disclose arrow on the right of the Activate button.
- Click Delete to remove the selected pack.
- Choose Confirm to complete the deletion process.

Additional Information
As new versions of Illuminate are released, you will be able to upload them by clicking on the Install Another Bundle link. When multiple Illuminate versions are installed, you can use the drop-down version menu to switch between versions.